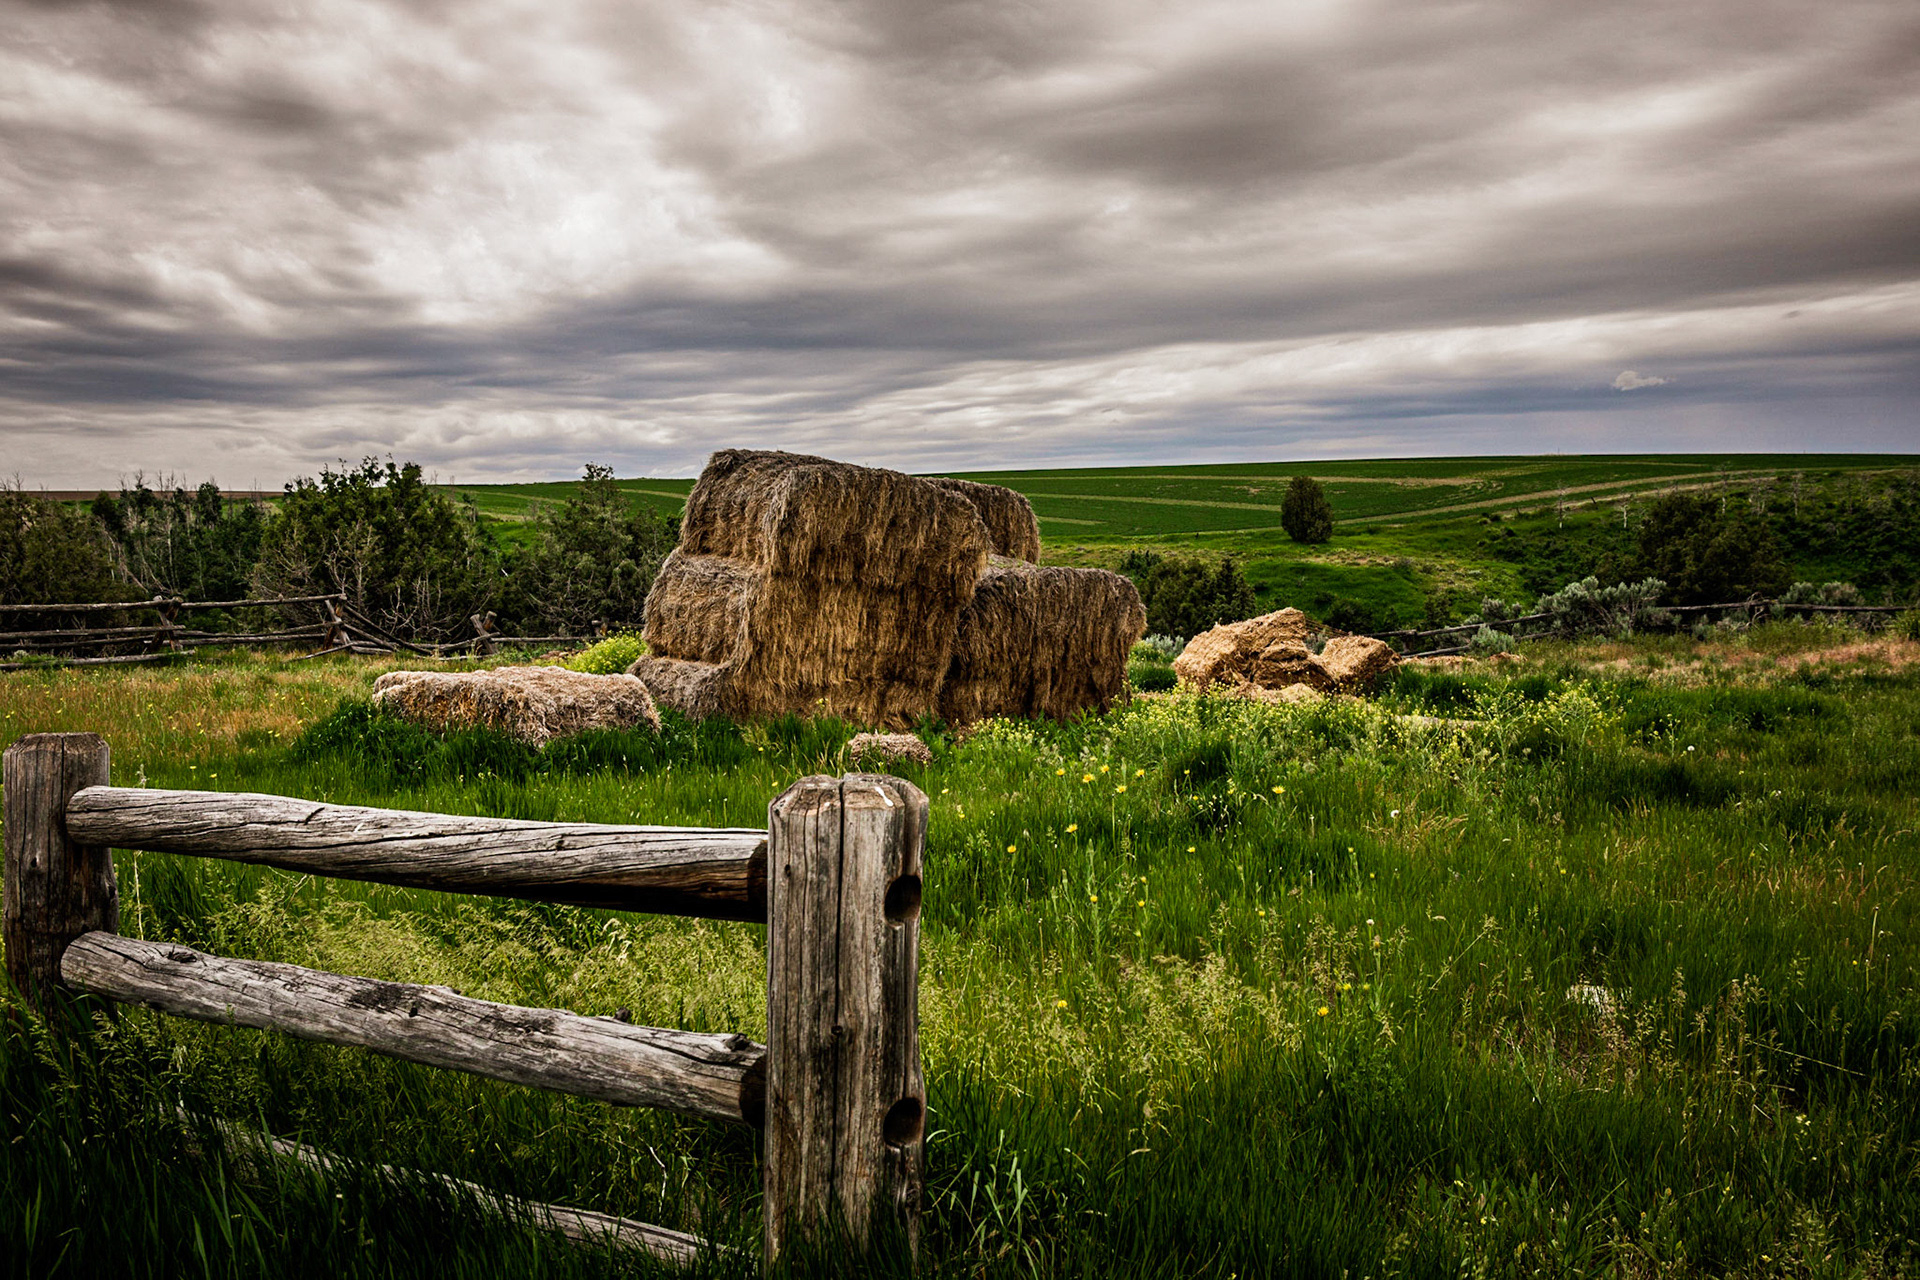
Before
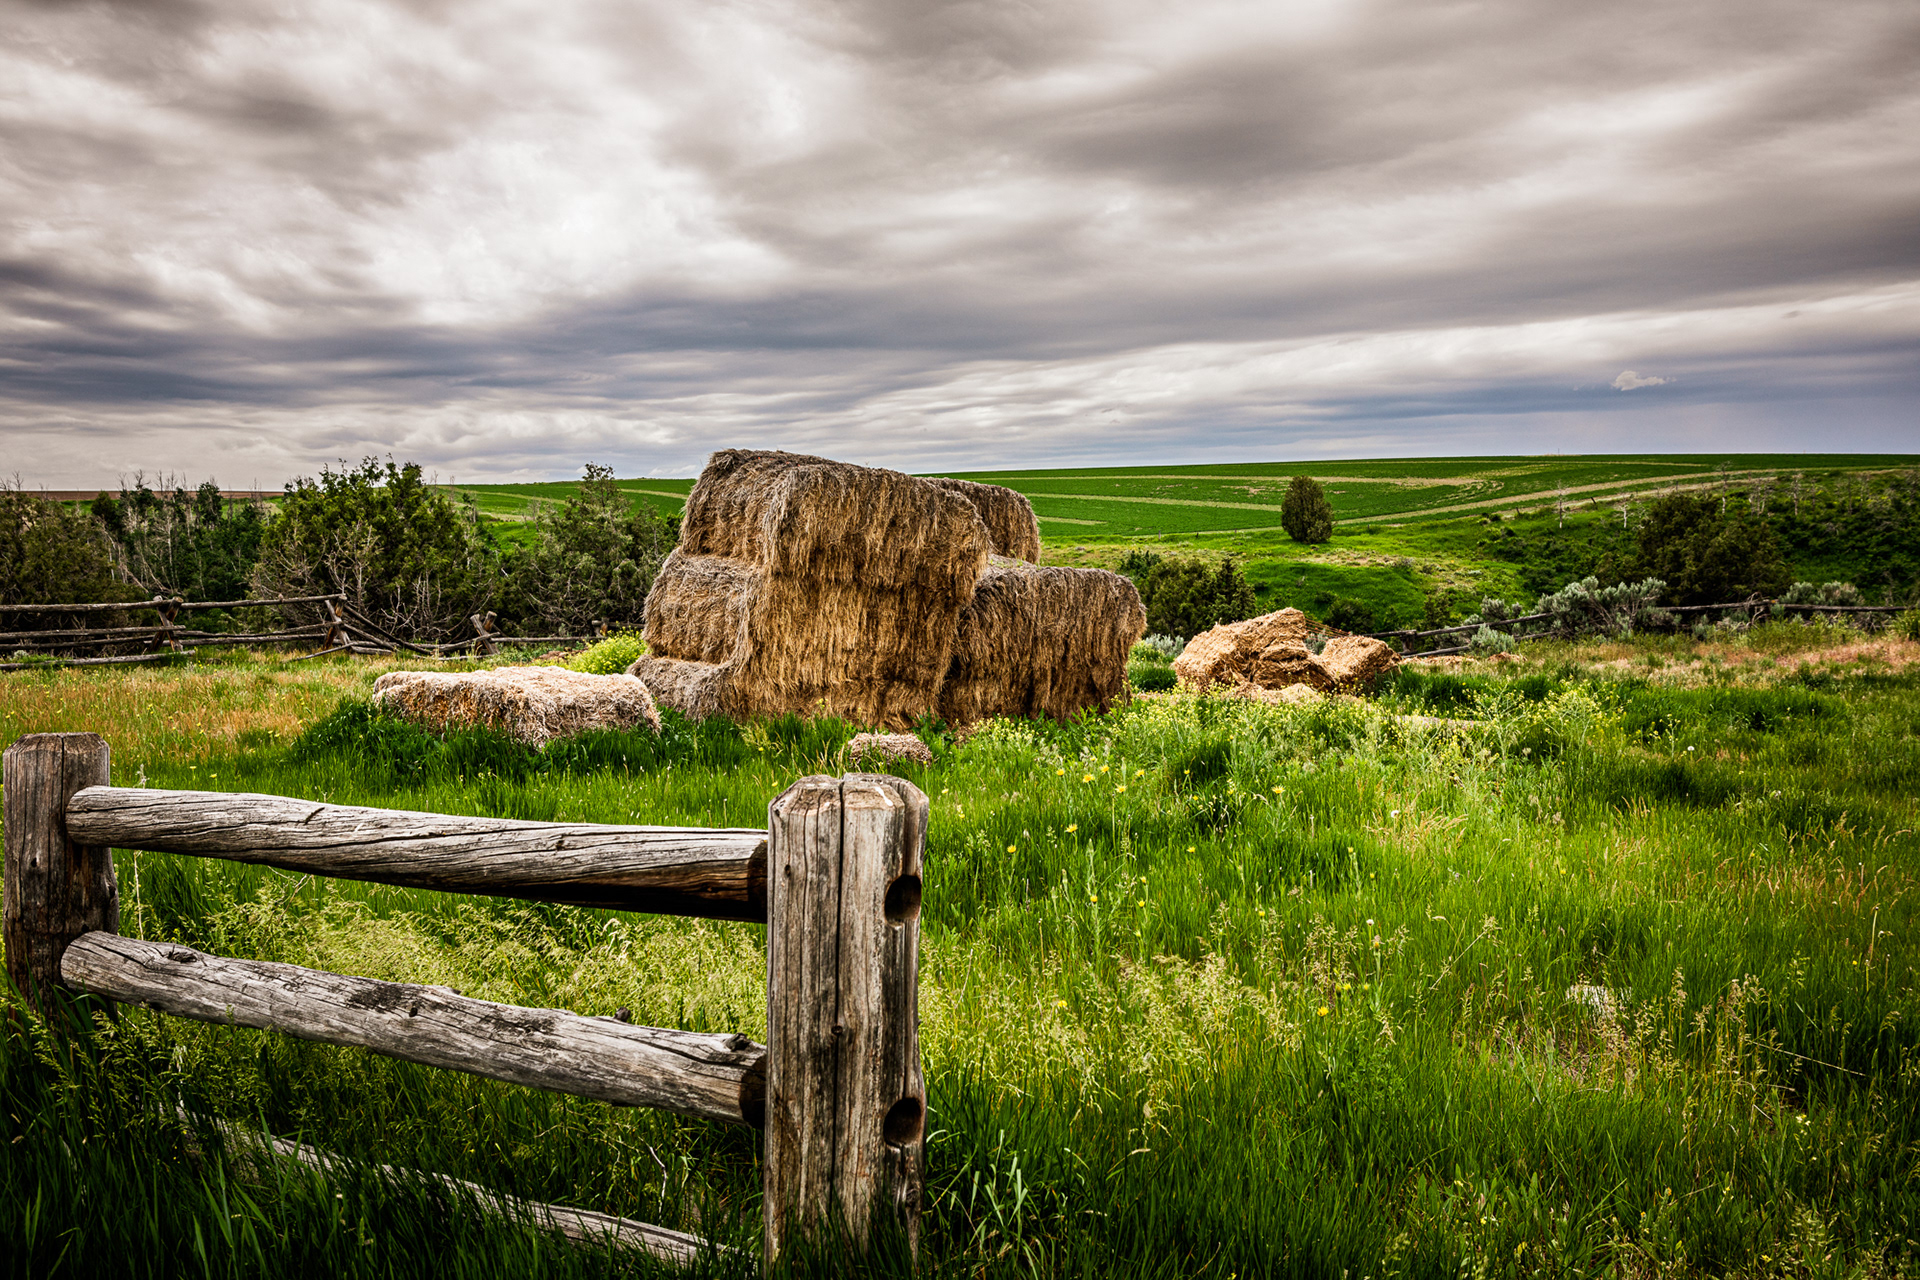
After - with suggestions
To improve the image, here are a few suggestions depending on the effect you're going for:
Adjust the Exposure and Contrast:
Enhance the brightness and contrast to make the image pop more.
Brighten the green fields and reduce the shadows on the haystacks to create more dynamic lighting.
Enhance the Sky:
Adjust the cloud details in the sky to give it a more dramatic or even peaceful look, depending on your preference.
Increase saturation or use a subtle gradient to give the clouds more depth.
Sharpen the Image:
Apply selective sharpening to the haystacks and foreground to make the textures more defined.
Crop or Reframe the Image:
Consider cropping a portion of the image from the left or right to focus more on the haystacks or improve the composition. Keep the rule of thirds in mind.
Increase Vibrancy:
If you want to make the greenery and flowers stand out more, you can increase the vibrancy of the greens and yellows.
Add a Filter:
A mild warm or cool filter could set the mood for the image. A vintage filter might bring a nostalgic feeling.
To convert this photo to black and white (grayscale), you can use various software tools and methods. Here's a step-by-step guide depending on your preferred tool:
1. Adobe Photoshop
Open the image in Photoshop.
Go to the top menu: Image > Adjustments > Black & White.
Adjust the sliders (Reds, Yellows, Greens, etc.) to fine-tune the lightness and darkness of each element in the photo.
Optional: Add contrast using Levels or Curves (Image > Adjustments > Levels/Curves) to make the photo pop.
Save your file.
2. Adobe Lightroom
Import the photo into Lightroom.
In the Develop module, press "V" or go to the B&W treatment option.
Use the Black & White Mix panel to adjust tones based on colors (e.g., darken the sky by reducing blues, brighten grass with greens and yellows).
Boost the contrast for more dramatic effect.
3. Free Online Editors (e.g., Pixlr, Fotor, Photopea)
Open the image in an online editor.
Look for a "Black & White" filter under effects or adjustments.
Adjust contrast, exposure, and sharpness to balance highlights and shadows.
Save the final version as a high-quality JPEG or PNG.
4. Mobile Apps
Use apps like Snapseed (Android/iOS):
Open the image.
Go to Tools > Black & White.
Adjust brightness, contrast, and grain as needed.
VSCO or Lightroom Mobile also offer excellent black-and-white filters with customization options.
5. GIMP (Free Alternative to Photoshop)
Open the photo in GIMP.
Go to Colors > Desaturate > Desaturate or Colors > Hue-Saturation and reduce the saturation to zero.
Use Brightness/Contrast and Curves to fine-tune highlights and shadows for a polished look.
Tips for Better Results
Focus on enhancing contrast to create depth. A black-and-white photo relies heavily on shadows and highlights.
Emphasize textures (e.g., the hay, wooden fence, and grass) by sharpening selectively.
Use filters to control specific color channels. For instance, darken skies by targeting blue tones or brighten grass by adjusting greens.